Pages

Thursday, September 2, 2010

Warmachine Commission, painting continues.

Blue has now been completed for this army so I though I would catch up with the painting guide and more pics.

Firstly I should recap on the production of the metals, as normal using all Foundry paints.

1) Heavy base coat of  Burnished Copper Shade
2) Heavy Drybrush of  Burnished Copper Shade + Chainmail 50/50
3) Lighter Drybrush of Chainmail
4) Liberal Wash of Black Wash + Copper Wash 70/30
Drying time
5) Lighter Wash of Black Wash

On with the BLUE, the base colour for this is Deep Blue Light                  


So above you get a closer look at the metals and the panels and sections picked out on the Warjacks and Gorten.


Left you have the completed base coat.


Next, for the first highlight using
Sky Blue Shade                 this was a very deliberate and bold highlight picking out most of the larger areas and all the edges.


And the final highlight using Sky Blue                   seen below on Gorten picking out the edges once again.


This was finished off with a quick wash of GW Asurmen Blue to smooth things out and to add shadow definition.


Sorry for some of the darker images, taken throughout the day. 

Next step, pick out all the other components, the leathers, the skin, markings and details. Then lastly a little weathering of the blue armor and some shiny highlights for the metals.

Watch this space.

Monday, August 30, 2010

Warmachine Commission, Gorten Grundback Rhulic Dwarves

New project is new! This week I will be mostly painting...Warmachine. In fact I nifty little Rhulic Dwarf army. To be honest this is the first time I have ever worked with Warmachine or any Privateer press models. I have had my eye on a lot of the Warmachine models for a while, so this was a great opportunity to see, build, and paint some. I find out that, much like Dr Pepper, I like them!

So what do we have, Gorten Grundback leading; a hefty number of Horgenhold Forge Guard, Thor Steinhammer, with 2 Grundback Gunners and 2 Wroughthammer Rockram jacks in support.
 

Here they are, I fun pile of models to get your grubby mits on, together with the usual pile of tools we're good to go. Equipped with, clippers, super glue, green stuff, pin drill, files, sculpting tool, and large steel paper clips (for pinning). Thumbs up for Privateer Press, I found all the components had very clean and well mounded joints and connections. Most were together in a flash with the appropriate use of super glue (I have seen a lot of failed super glue attempts in my time, remember less is definitely more).


WARJACKS, these big guys also go together pretty smoothly. I started by pinning most of the first so I could adjust its pose enough to make it stand out from its twin in the army. The biggest tip I learnt from building these was to pin, glue and let set the legs to the body first! Warjacks have a huge amount of top heavy weight and in the case of the running pose all this pressure is applied to the single small hip joint. Having this joint set beforehand lets you stand on pose the model at your leisure.


Okay, here we are with the infantry and Gunners complete. A couple of the Forge Guard had subtle arm repositioning to add enough variety in the overall look. Also note the repining of the flame effect on Thor Steinhammer. This gave it structural integrity and aloud me to lengthen the flame just a touch. Wip below.


For now I will leave you with a couple of the intial painting pics. For the metals and the base blue coat for the selected panels. This may give you a hint to the intended theme, but with only scruffy base colors, plenty more work to do.


Wednesday, August 25, 2010

Bloodletters of Khorne

Here's a small sideline project a new hefty unit of Bloodletters. I've had a box of these around since they were released, now with 8th edition and the new Daemon book I thought I would bulk up the numbers and paint these up.


These models are great, but as anyone that has tried to rank up a unit of even 10 of these will know, they are...uncooperative! So a unit of 18 (6x3) was going to be a challenge as must models will be trying to either dismember two others with the insane blade they carry or at the least trying to lick the model in front in an inappropriate manner.

First tip for remedying this obviously involves completing the models first before sticking them to the bases. This did work out for the first of the models, but I quickly reverted to reposing many of the arms. The original poses of the models are very limited and generic, you will soon find that even with the quickest of modifications you will get far more dynamic character from these fearsome looking models.


These two were perhaps to two most drastic requiring resculpted shouders, but most only required minimal filling in. After quite a jigsaw puzzle the perfect ranked unit was born. (Which reminds me, I really need to number the bases before they get shuffled in anyway and for future model case to deployment)


There you have it! These are now undercoated patiently waiting an inspired red paint job, will post when I accomplish that.

When asked what they thought of the 3 ranks and remodeled arms, the answer was unanimous.


 "Blood for the blood god!"


"Blood for the blood god!"


"Blood for the blood god!"

Tuesday, August 24, 2010

High Elf Spearmen

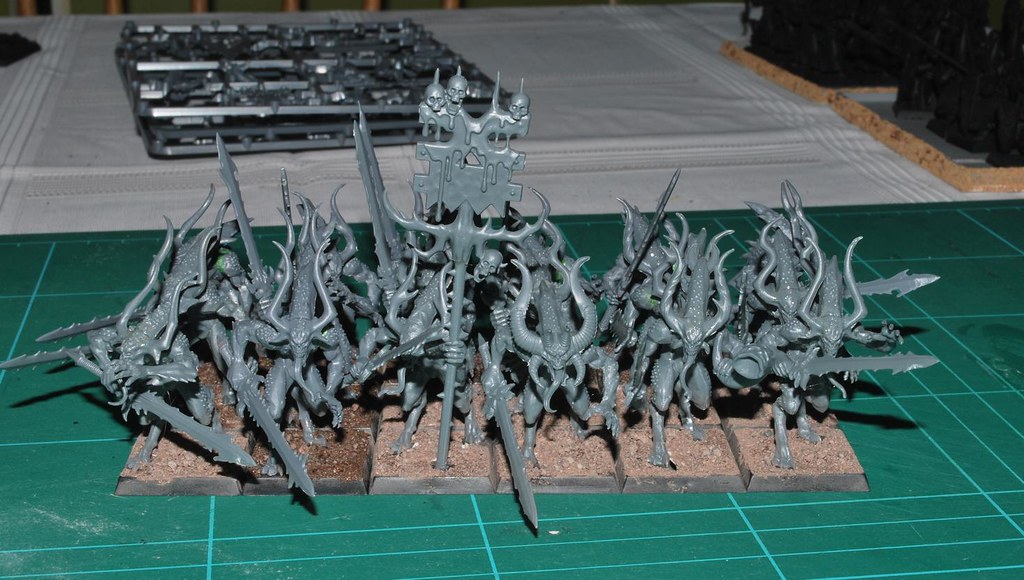
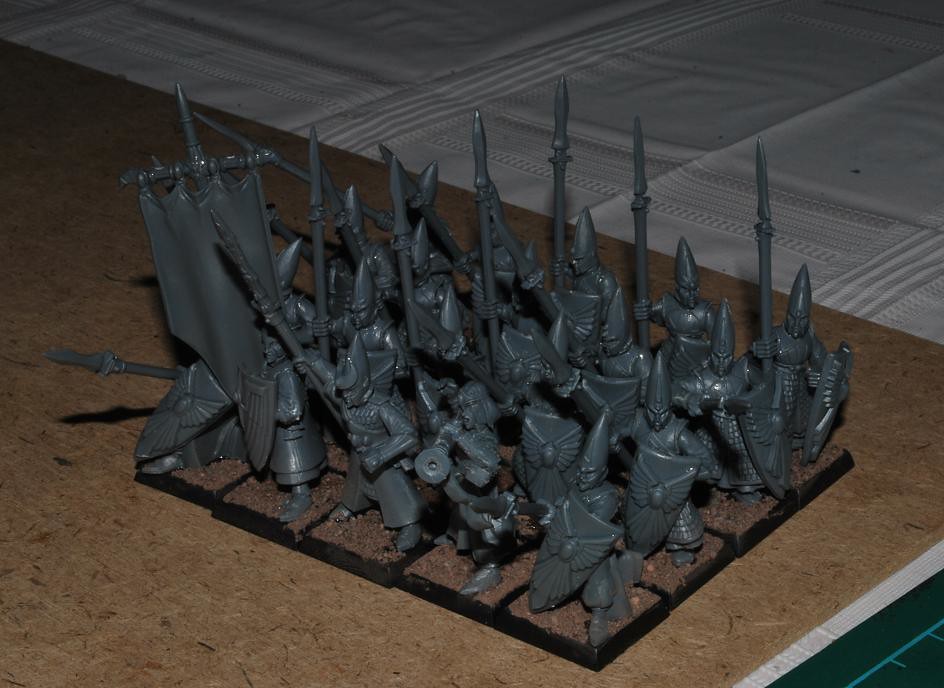
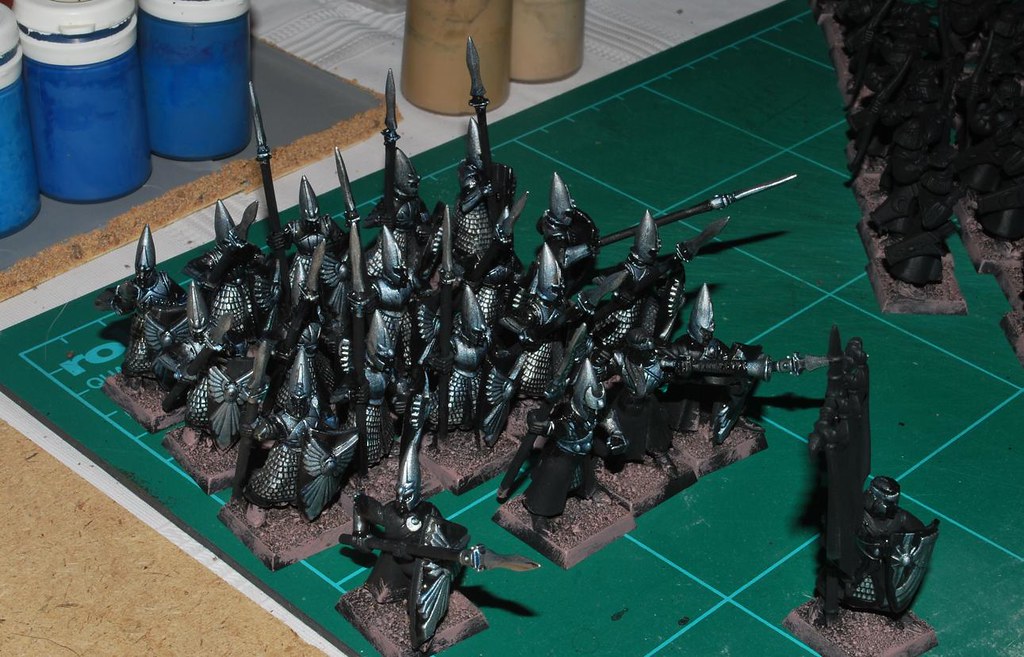
Lets kick this off with yesterdays project, a unit of 20 High Elf Spearmen for a current 2000 point commission. This includes construction and painting to a tabletop standard. (My tabletop standard at least)

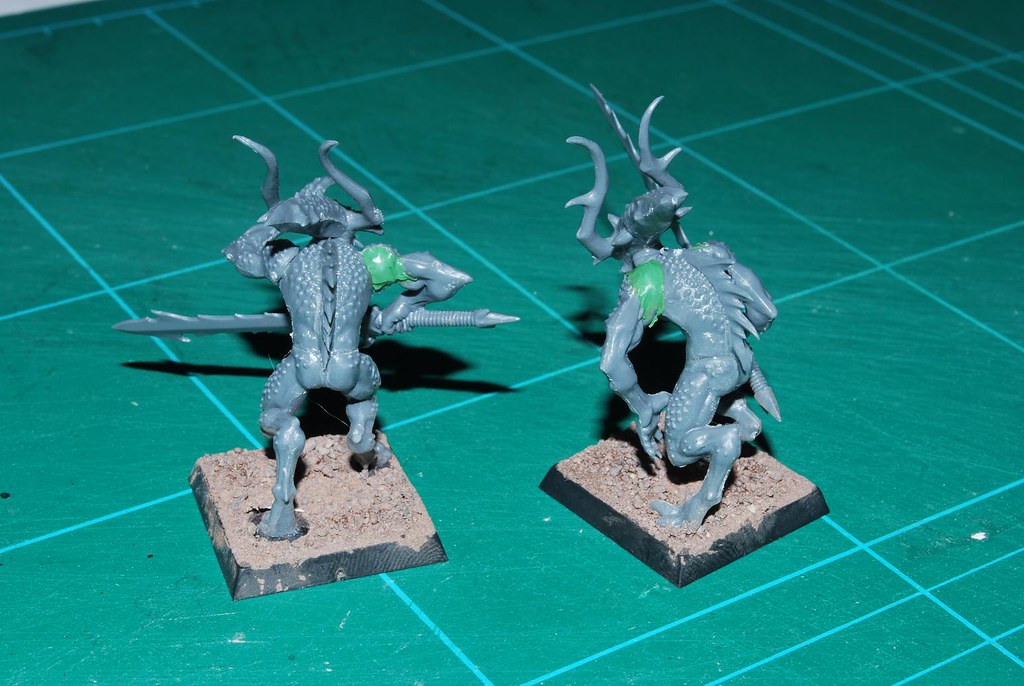
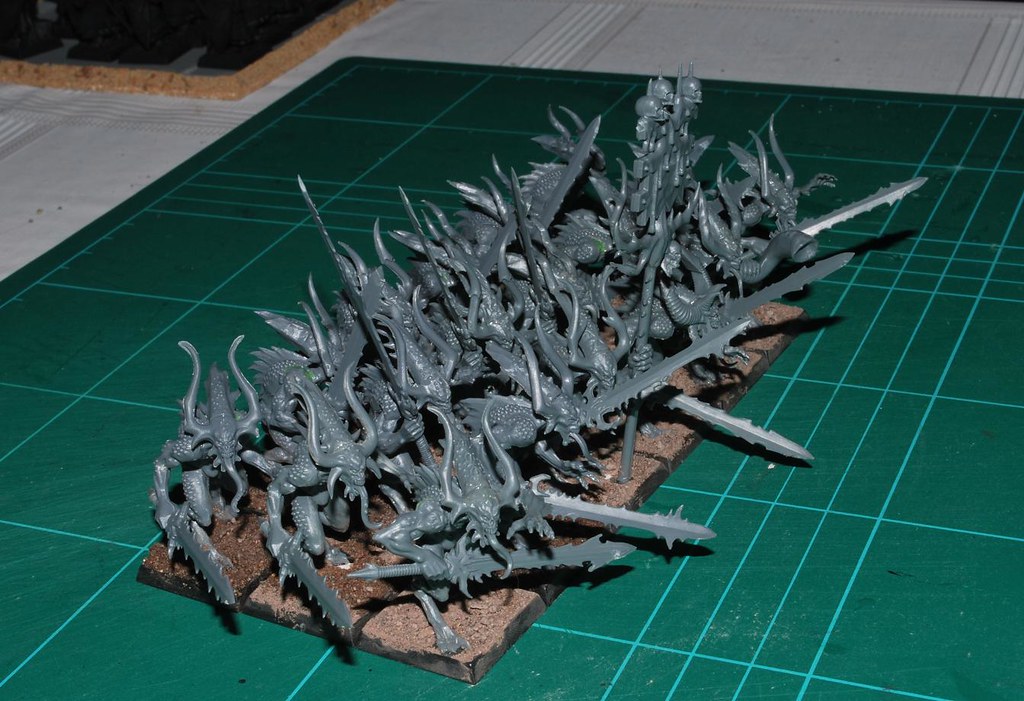
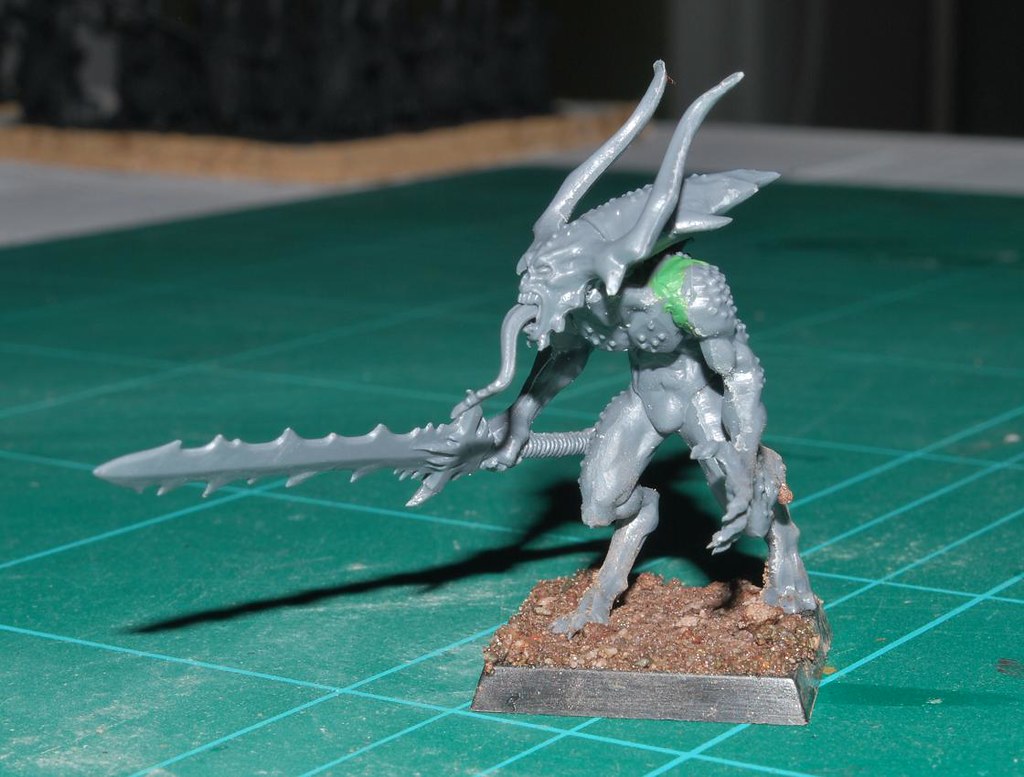
Naturally, the building of any plastics comes with an element of customisation and conversion. My overall plan when modeling this unit was to demonstrate their martial prowess and ability to fight in multiple ranks. With the battleforce as my source of models and components this included kneeling front rank spears with the archer bodies, the rest of the ranks were posed to be trusting spears and looking to the front and flanks to form a bristling wall of spearheads and a more dynamic unit.


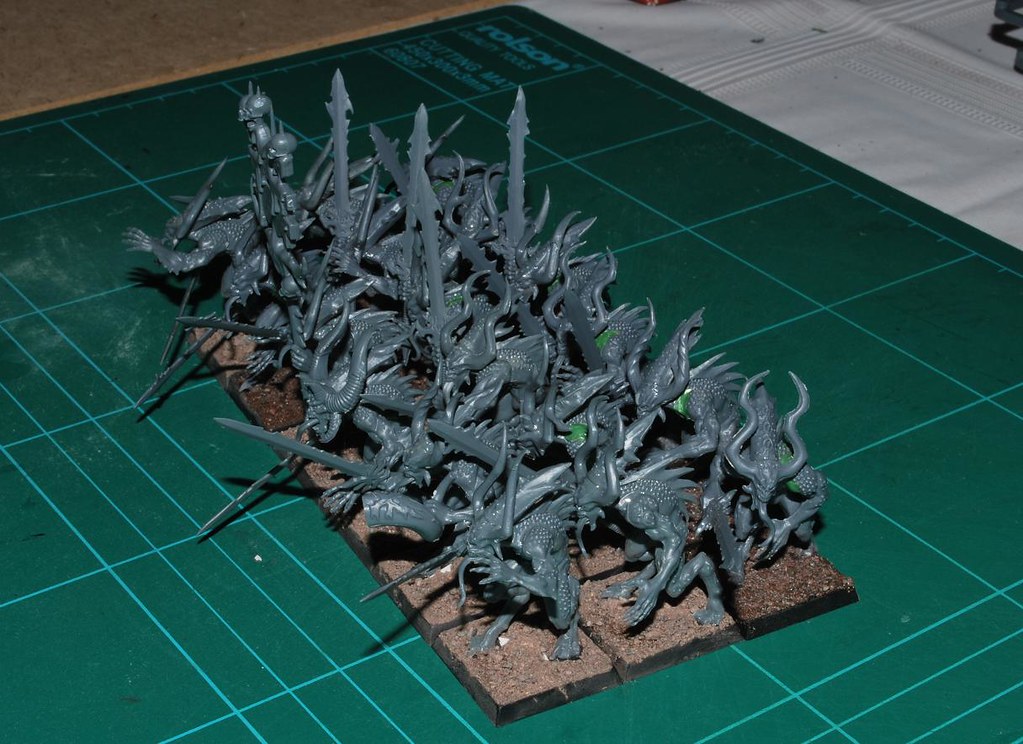
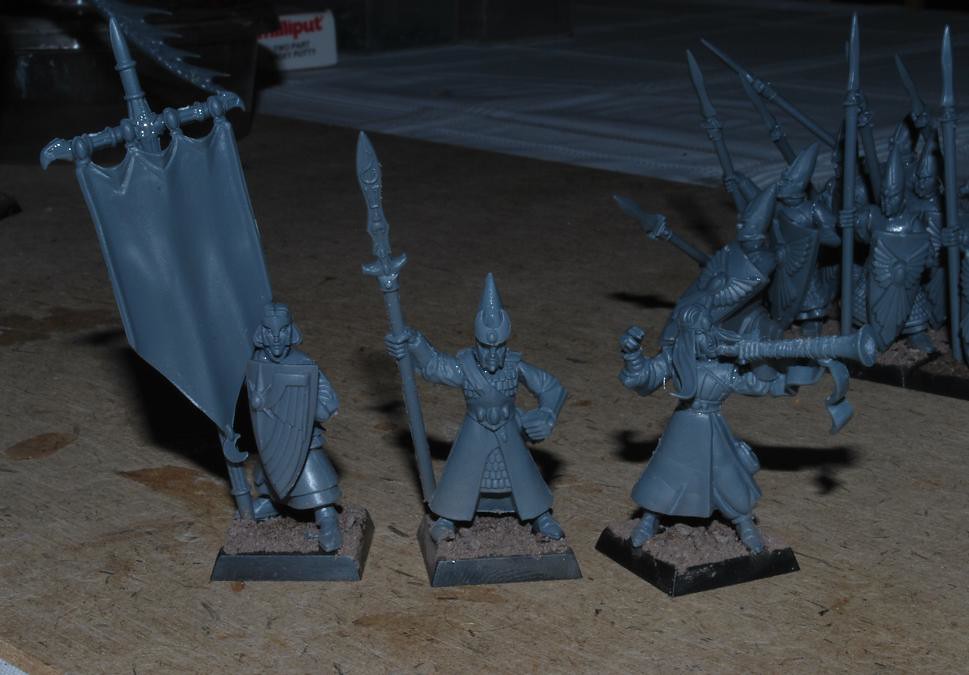
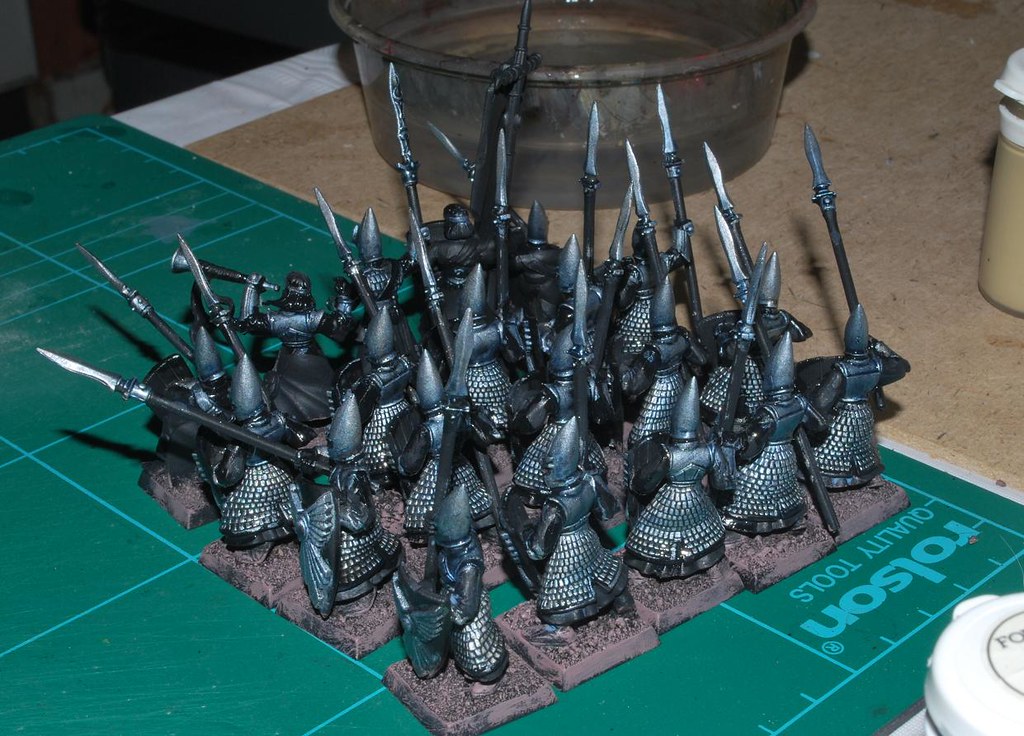
This may not be displayed well with the picture above, but more pictures to come. Another use for the wealth of swappable components in the battleforce is the Bolt Thrower crew bodies, these I tend to use amongst my command unit as below. The arrow loading goons can always make do with regular spearmen armour.


Note the simple champion spear made by replacing the spearhead with runed blade of the generic champion sword. Far more of a distinctive spearman champion than a "I'm going to stand in the front rank waving a sword for attention" usual rank and file champion. If the champion is distinctive, we can only describe the long haired musician as 'flamboyant'. As for the standard bearer I like the very staunch and shielded pose and will continue this throughout the army.

ON WITH THE PAINTING!
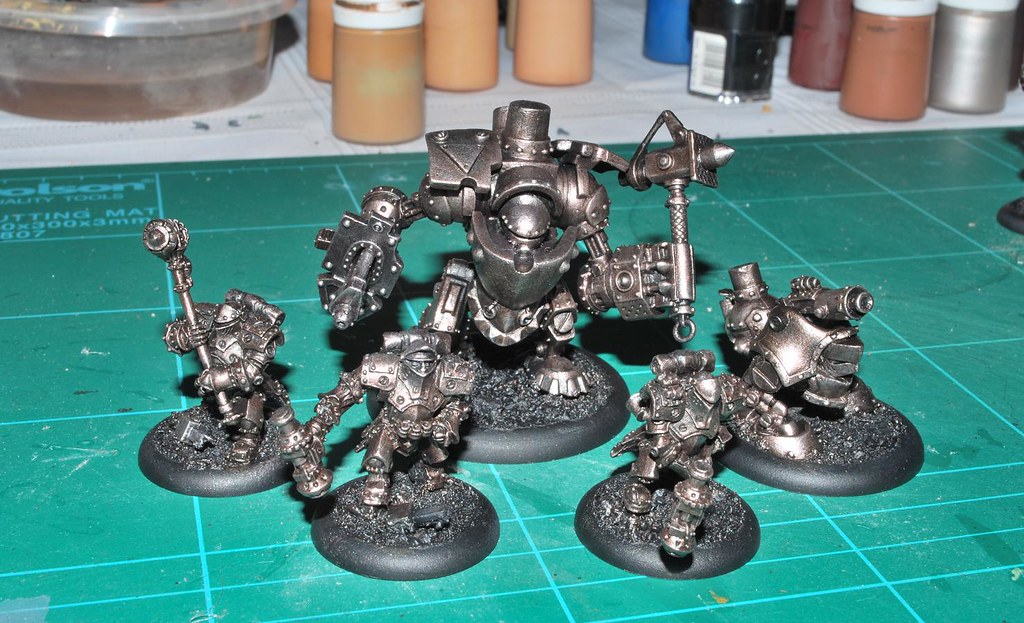
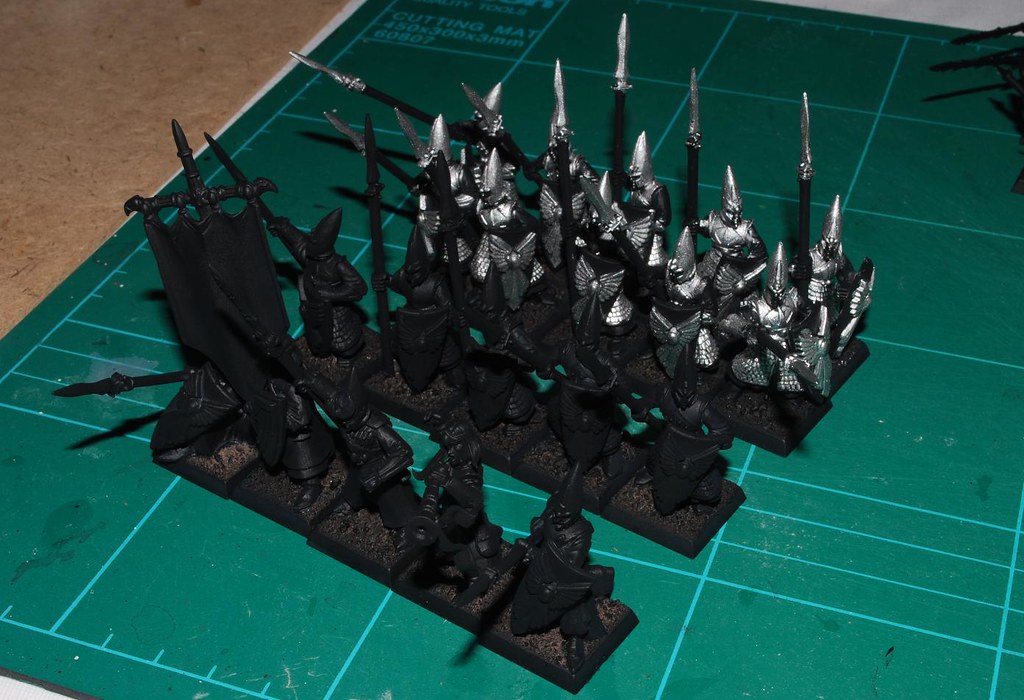

STAGE ONE - Metals

Spearman models are mostly metals, scale armour skirts, shiny breastplates, wrist guards, and speartips. With this in mind the first base color is to be a metalic, this can them be inked and glazed quickly with no required care of other parts of the model. I use a complete Wargames Foundry paint set so these colors may be unfamiliar to many, but I certainly recommend these.

So we start with a blitz of  'Chainmail'

As you see I am pretty scruffy with my bases colors but this is all tidied up later.
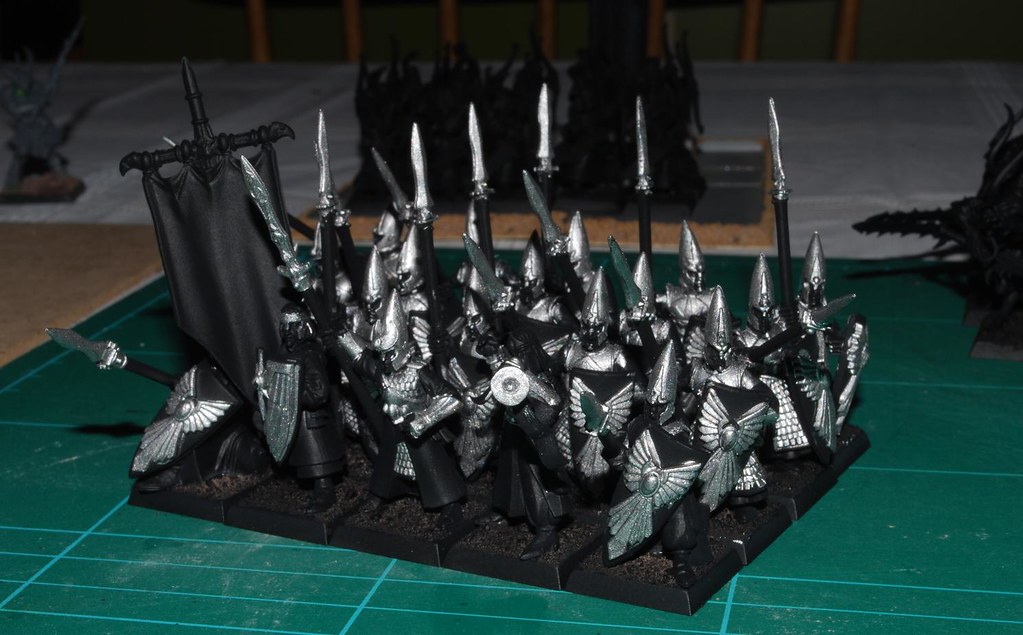

STAGE TWO-  Inks

Games Workshop inks action here, firstly two coats of Asurmen Blue. Leaving a coat of ink or a wash to dry and applying a second coat will always build up a far greater defination of shading. This takes up time over the day but theres always other bits to work on.


This provided quite a strong tint that should blend in with the overall color scheme.

Once dry again a final ink of black was used to define the armour, specifically the scales.


Talking of letting coats dry I have completed the base drybrush of the bases at this point with 'Peaty Brown Light'.